If you’re looking to step into the world of off-grid travelling, there’s one thing you absolutely want to get right: your 12V system. From your solar to your battery, the components that make up your system need to be right; otherwise, you won’t be able to achieve the off-grid experience you’re looking for.
In this guide, we’ll break down how to design a tour-ready 12V setup customised to your needs. Whether you’re planning a lap of Australia or just weekend trips, this process will work for you. We’ll use our mate Damo’s 2023 Ford Ranger build as an example for this guide.
What do you want to achieve?
Before you pick out your components, you need a good understanding of what you want to achieve with your setup.
Basically, you need to determine the ‘what’, so you can work out the ‘how’.
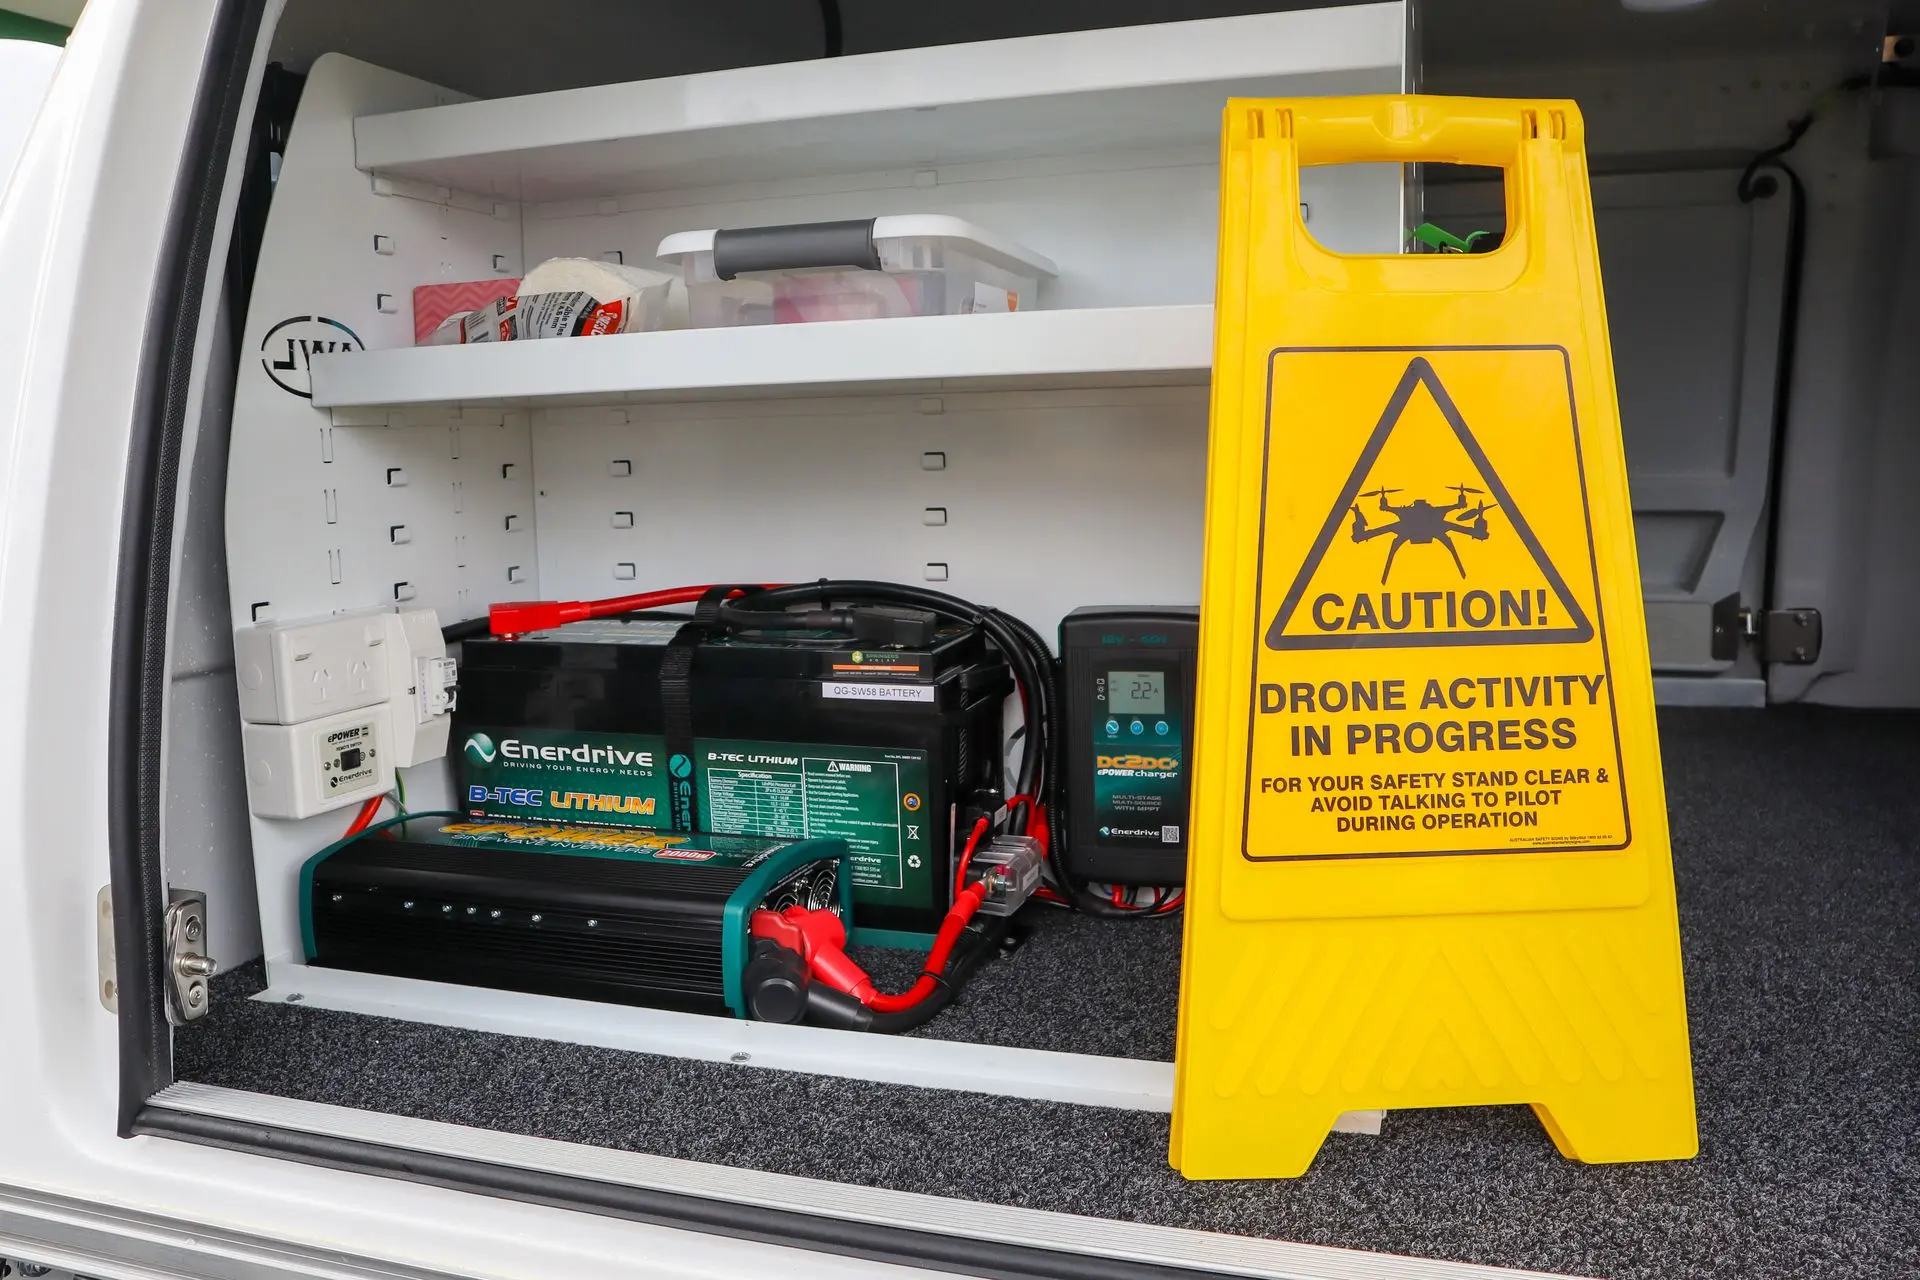
Damo has a custom canopy on the back of his Ranger, so he’s looking to install his system there. He’s a 4WD-er and content creator, so he needs to charge his phones, drone, and cameras while on the road. He also has a portable coffee machine that he wants to plug in and use on days when he’s out filming.
1. Determine your total daily load
Once you understand what will require power, you can calculate your total daily load draw. To do this, you’ll need to determine the power draw of each powered device and how long you’ll be running them. This information is imperative to size an appropriate system.
All of your electrical devices should have their load draw on the label or the packaging. As for how long you’ll be running them, always overestimate the time, as you’ll only end up with more power than necessary.
Damo gave us a breakdown of all the equipment he is looking to run and an estimate of how long he’s running them for:
Appliance
Power Draw
Use Time
Camera battery
18W, 9V / 2A
3hrs to charge, 2 charges per day
Drone battery
240W, 200V / 1.2A
1.5hrs to charge, 2 charges per day
Phone
20W, 9V / 2.2A
1hr to charge, 2 charges per day
Coffee Machine
350W, 12V / 34A
0.5hr of use per day

Once you’ve listed this information, you need to work out the amp-hour draw for each appliance each day. To do this, multiply the appliance’s amperage draw by the amount of time it will be used each day.
Damo gave us a breakdown of all the equipment he is looking to run and an estimate of how long he’s running them for:
Appliance
Power Draw
Amp-hour Draw
Camera battery
(2A x 3hrs = 6Ah) x 2 chargers = 12 Ah
Drone battery
(1.2A x 1.5hr = 1.8Ah) x 2 chargers =
3.6 Ah
Phone
(2.2A x 1hr = 2.2Ah) x 2 chargers = 4.4 Ah
Coffee Machine
34A x 0.5hr = 17 Ah
Next, we calculate the total daily load. Simply add together the amp-hour draw of each device. The total daily load is key to determining the correct battery and solar size for your system, so make sure you write this figure down.
Here’s Damo’s total daily load calculation:
12Ah + 3.6Ah + 4.4Ah + 17Ah = 37Ah
Why is total daily load important?
The total daily load is important because you want your battery to cover the maximum amount of energy you’ll draw in a day.
In reality, though, you don’t just want to cover one day’s worth of energy… You want to make sure it can sustain your loads for at least a few days. Otherwise, you’ll end up using all of your battery capacity on day one, and if you don’t have a way to recharge, this can get problematic. This is why it's important to consider your days of autonomy.
2. Determine your desired system autonomy
To figure out your optimal battery size, you need to know how many days of autonomy you want. Essentially, how many days do you want to be able to draw power from the battery before you need to fully recharge it?
This is what we call days of autonomy. As a general rule, we recommend at least three days of autonomy, unless our customer has requested otherwise.
Damo has told us that he only goes on two to three-day trips, so the standard three-day autonomy will be enough for him.

3. Size your battery to the load
With your total daily load and your days of autonomy determined, you can now calculate the optimal battery size for your system. To do this, multiply the total daily load by your days of autonomy.
For Damo, his total daily load is 37Ah, and he’s looking for three days of autonomy; therefore, his recommended battery size is 111Ah.
137Ah x 3 days = 111Ah
Given there is no such thing as a 111Ah battery, Damo could opt for a 120Ah battery or a 200Ah battery.
When sizing a battery, we recommend choosing a larger capacity rather than a smaller one, as power is a valuable commodity when you’re travelling off-grid. The last thing you want is to run out of power when you’re in the middle of the Aussie outback - so it’s always best to oversize.
Read more: Calculating Battery Size for Your Caravan or 4WD
Read more: A Guide on Auxiliary Batteries

4. Size your solar to your load and battery
Finally, you can determine how much solar you’ll need to comfortably charge your battery system. The calculation needed to work out your optimal solar size will be:
(total daily load x system voltage) / average sunlight hours
Let’s break that down into smaller sections. Firstly, we can multiply your total daily load by your system’s voltage, so either 12, 24 or 48V.
For Damo, he will need to times his total daily load of 37Ah by his system’s voltage, which is 12V:
37Ah x 12V = 444W

Next, divide this by the peak sunlight hours you receive. In Queensland, we receive 4.2 hours of peak sunlight per day. However, this can vary between Aussie states, so when you’re calculating your solar size, we recommend using the national average of 3.5 hours. Divide the watts by 3.5 hours to get your recommended solar size.
Damo’s calculation will be:
444W / 3.5hrs = 126.8W
Much like his battery calculation, he’s not going to find a solar panel that is rated to exactly 126W, so we recommend rounding up or oversizing here, too. He could comfortably jump up to a 150W panel, or size up to a 200W panel if he wanted a little extra power.
The final system we designed
So, we’ve done all the calculations, and we know exactly what size battery and solar panels are needed to build this 12V system. Now comes the fun part: selecting the components that will make up this system. Based on the calculations we completed for Damo’s build, this is what we would recommend for him.
To start, we recommend a 200Ah battery. This will cover his load draw with some to spare, so if he adds another small appliance in the future or needs to charge his equipment more frequently, he won’t be worried about overdrawing the battery.
Our latest content
Check out what's new in our company !
Now, for his solar panels, he has a few different options. Because he wants this all to go on his 4WD, he’s limited to the space of his canopy roof for fixed solar panels. Based on his current load draw, he should find this to be too much of a problem, as he could easily fit a 150W or 200W panel on the roof of his canopy.
Our latest content
Check out what's new in our company !
If he wanted to keep his roof clear for roof racks, he could choose a portable panel instead, like the Alvolta 220W solarcase. He could also purchase this alongside his fixed solar panel if he thought he might add to his electrical appliances in the future.
Our latest content
Check out what's new in our company !
To pair with the solar and batteries, and round out this system, we recommend a DC-DC charger and an inverter. Damo specifically wanted an inverter that would provide fast, seamless AC power for all of his appliances. Because of this, we recommend he pick an inverter with an AC transfer switch. We would also recommend installing an additional AC outlet in his canopy so he can charge multiple appliances at the same time.
Our latest content
Check out what's new in our company !
For his DC-DC charger, we recommend one of the Orion XS DC-DC chargers, which will provide additional charging support on bad solar days or when he needs fast charging in a pinch.
Read more: DC-DC Chargers
Our latest content
Check out what's new in our company !
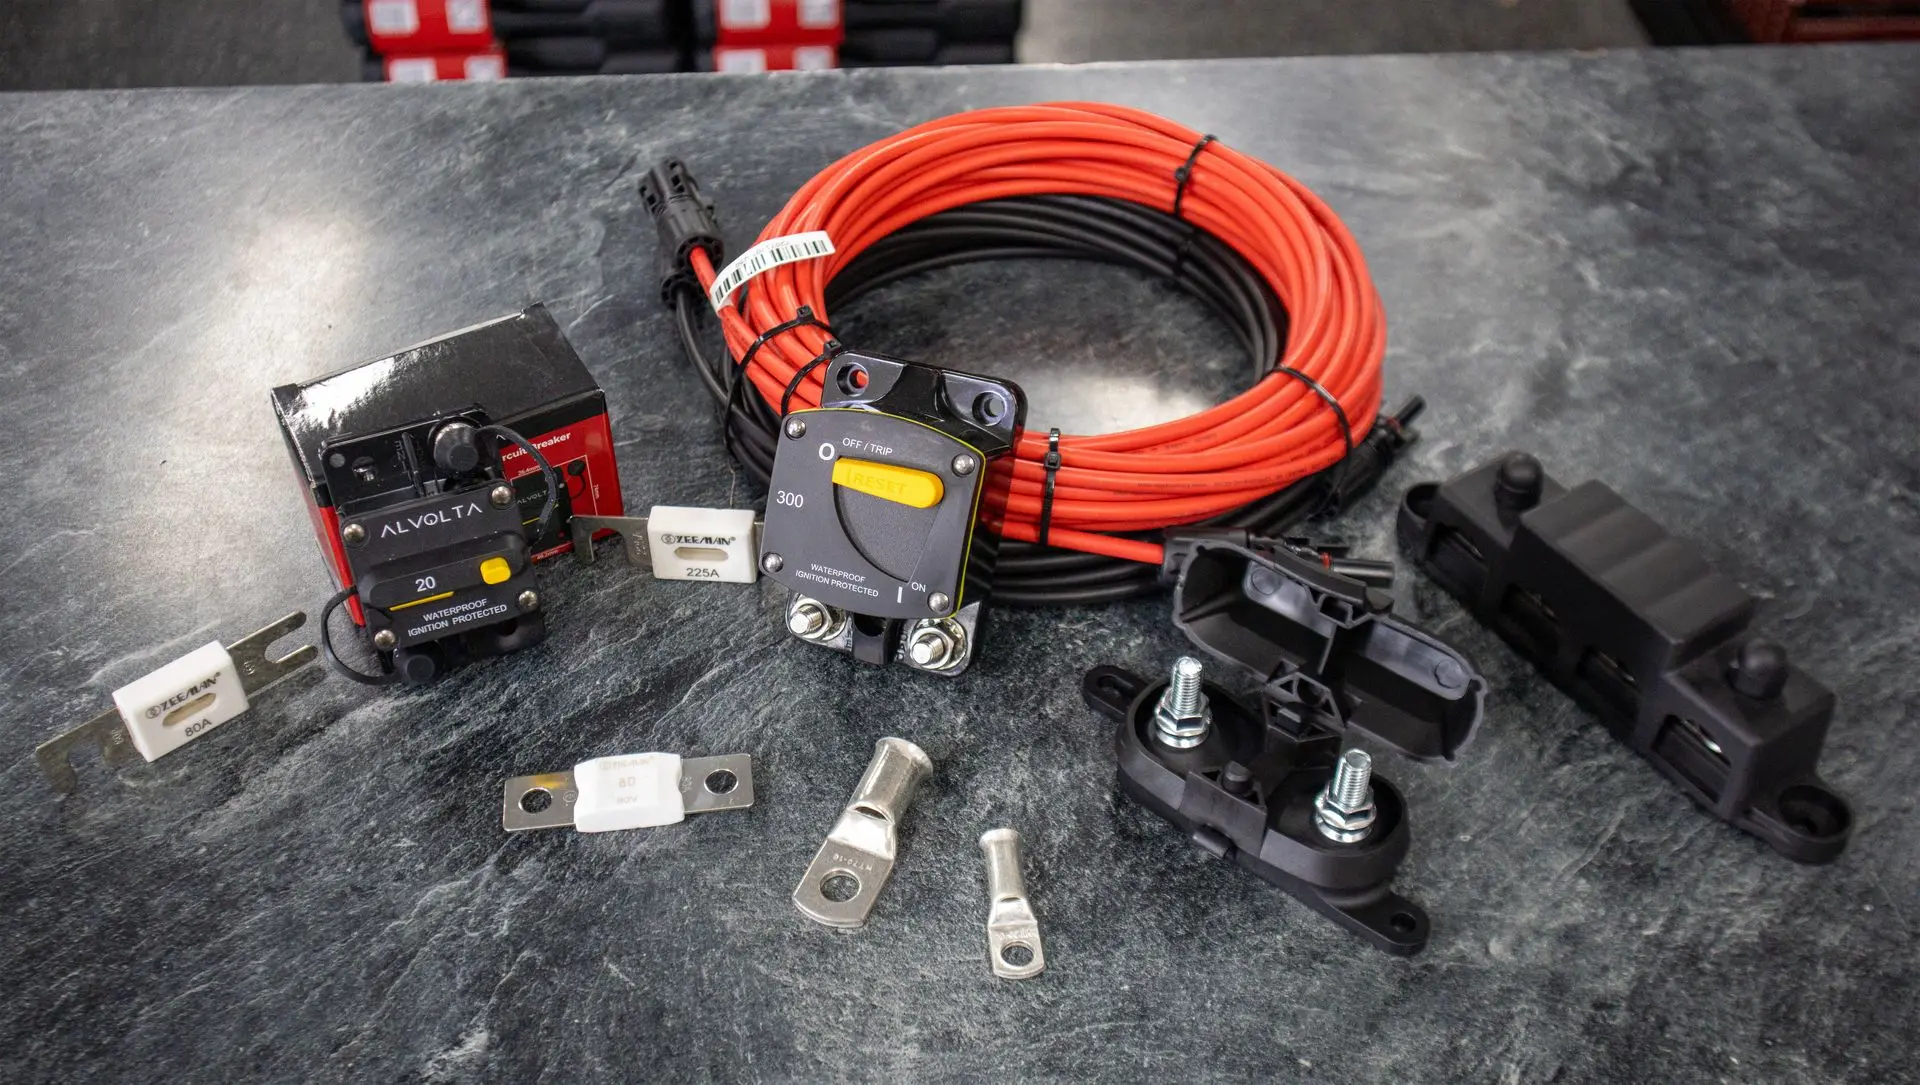
Now, for Damo, he was looking to purchase the products from us and then have them fitted by a professional auto electrician, so his system was all completed here. However, if he wanted to install it himself, he would need to purchase additional components, including cable & cable conduit, fuses & fuse holders, circuit breakers, terminal connectors, and mounting racks. These smaller DC components are where each system will differ, as they depend on the specifics of your setup, the individual components you choose, and the configuration of your installation.
If you’re looking to DIY your own setup, come in to our store and talk with one of our friendly 12V specialists, who will be more than happy to help you work out the specific DC components you’ll need to complete your installation.
Springers Solar | Your Trusted 12V/24V Components & Accessories Supplier
We only stock the best brands in the extra-low voltage industry for the best prices - you can trust that when you buy gear from Springers, you are setting up your system to perform long-term. We don't waste our time or your time with low-quality products.
With an in-house team of 12V/24V experts, we can offer advice and support as you set up your off-grid, off-road, or DIY battery system. We are Queensland-based and house our stock, so check out our online store here or visit us at Lawnton, Warana or Capalaba for in-store help.
How to Design a 12V System for a Ford Ranger